
Upgrade
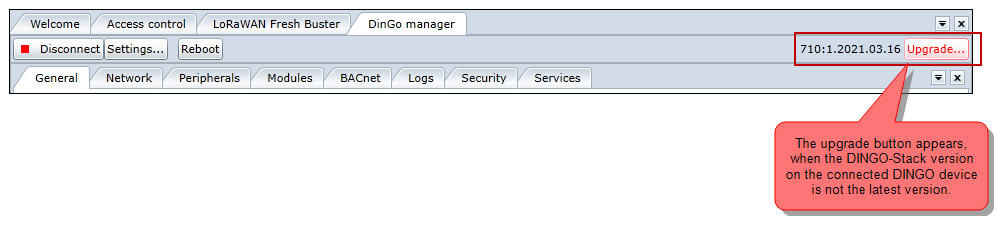
When the DINGO-Manager connects to a DINGO device, it will check the DINGO-Stack version on the DINGO device, against the latest available DINGO-Stack version. If the version is not the latest, a Upgrade... button will appear with the option to upgrade the DINGO-Stack.
When the upgrade button is clicked, a new dialog appears.
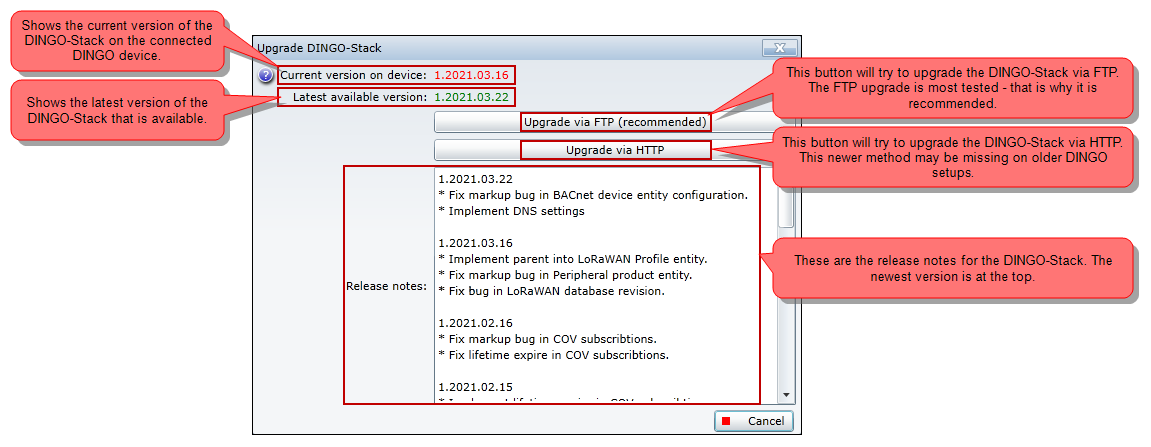
The upgrade window shows the current DINGO-Stack version on the connected device (colored red) and the latest available version (colored green). The window also shows the release notes for the latest versions.
There are two options for upgrade - via FTP or HTTP:
- The FTP upgrade method has been mostly used and is therefore recommended.
- The HTTP upgrade method is newer and can be missing on older DINGO setups. The HTTP method is used when FTP is not allowed on the network where the DINGO device is located.
When the upgrade has started, the following process takes place:
- The DINGO-Stack is stopped, which means that it is not possible to communicate with the DINGO-Stack while the upgrade takes place.
- The DINGO-Stack gets upgraded via FTP or HTTP.
- When the upgrade is finished, the DINGO-Stack is started again.
- The current version number gets updated and turns green, if everything is successful.
The upgrade takes 2-3 minutes, depending on the network connection.
Upgrade via SSH
We recommend using Putty (https://www.putty.org/) when doing the upgrade via SSH terminal.
FTP-upgrade
Follow these instructions for a FTP upgrade:
- dingo-stop
- cd /opt/GoIoT/DinGo/bin
- sudo ./ftp-debug-upgrade.sh
- If the FTP upgrade seems to "hang" on the FTP connection, then there is the possibility that FTP is not allowed on the network. Stop the script (Ctrl + c) and try the HTTP-upgrade instead.
-
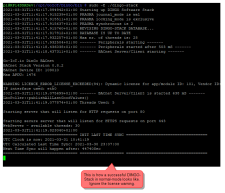
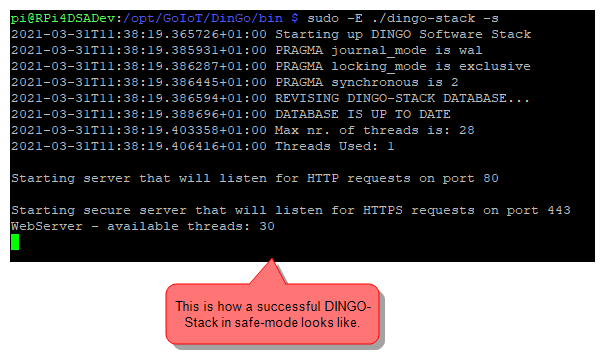
If the script finishes, then try to start the DINGO-Stack in safe mode:
sudo -E ./dingo-stack -s

-
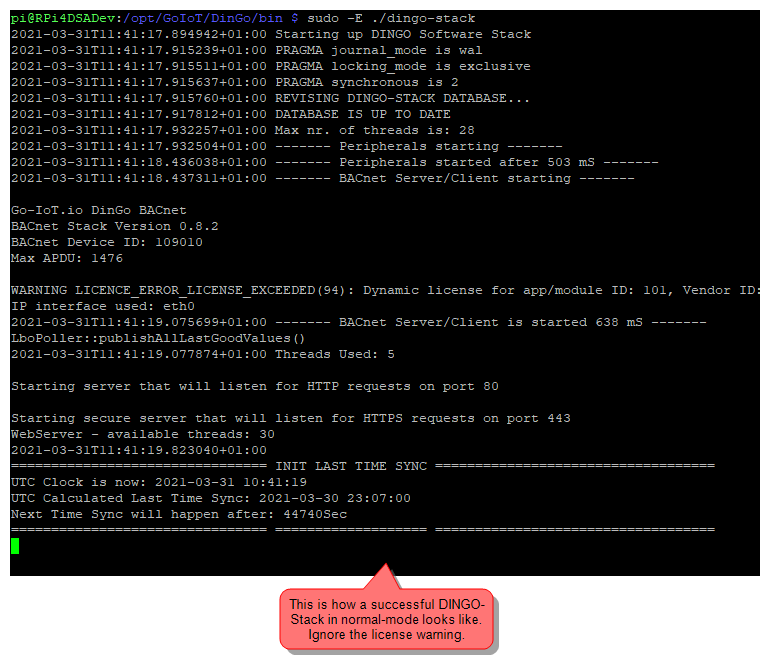
If that is successful, then stop (Ctrl + c) the DINGO-Stack and try to start the DINGO-Stack in normal mode:
sudo -E ./dingo-stack
-
If that is also successful, then stop (Ctrl + c) the DINGO-Stack and start the DINGO-Stack as service:
dingo-start
- The upgrade should now be successful.
-
NB: The upgrade script will also upgrade itself - so in some circumstances it is necessary to run the upgrade script again.
It is also recommended to run this command to update any environmental changes (include the dot):
. /etc/profile.d/dingo.sh
HTTP-upgrade
Follow these instructions for a HTTP upgrade:
- dingo-stop
- cd /opt/GoIoT/DinGo/bin
-
Check if the HTTP-script exists:
ls http-debug-upgrade.sh
If it does not exist, then download it:
sudo wget --timestamping http://mail.rational-network.com/RPI/http-debug-upgrade.sh
sudo chmod +x http-debug-upgrade.sh
- sudo ./http-debug-upgrade.sh
-
If the script finishes, then try to start the DINGO-Stack in safe mode:
sudo -E ./dingo-stack -s
-
If that is successful, then stop (Ctrl + c) the DINGO-Stack and try to start the DINGO-Stack in normal mode:
sudo -E ./dingo-stack
-
If that is also successful, then stop (Ctrl + c) the DINGO-Stack and start the DINGO-Stack as service:
dingo-start
- The upgrade should now be successful.
-
NB: The upgrade script will also upgrade itself - so in some circumstances it is necessary to run the upgrade script again.
It is also recommended to run this command to update any environmental changes (include the dot):
. /etc/profile.d/dingo.sh